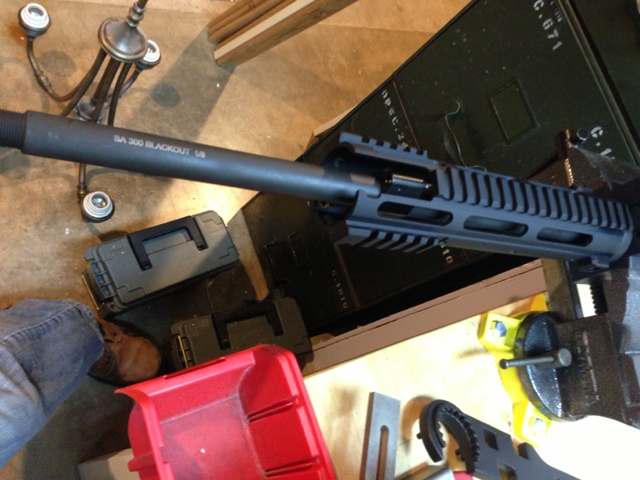
To my surprise when the upper got here the forward assist and dust cover were already installed which was a very cool bonus for me. The first thing I noticed was how nice the finish was on the upper receiver, and the SOTA emblem was a really cool touch. The barrel seems very well made and I am looking forward to seeing just how accurate it is. So far I am very impressed with SOTA and plan on using them again in the future when I am ready to do another build, their prices are extremely fair, and even though you will have to wait up to 8 weeks for the upper to ship the quality of parts that you get is very high. Granted their customer service is normally slow to respond but this is because they have a large number of orders that are being processed, built, and shipped daily.

I have all of the parts that are needed to complete the build in the picture below, having an Armorers wrench is essential even if you aren't building your own AR it will still give you the ability to tighten down any parts that may come loose over time. Also having a good torque wrench (not pictured) is something I highly recommended. Also you want to buy a good upper vise block kit like the Pro Mag Kit in the link, this will keep you from marring your upper or twisting and damaging it.


Line the barrel up with the receiver and thread the barrel nut on.
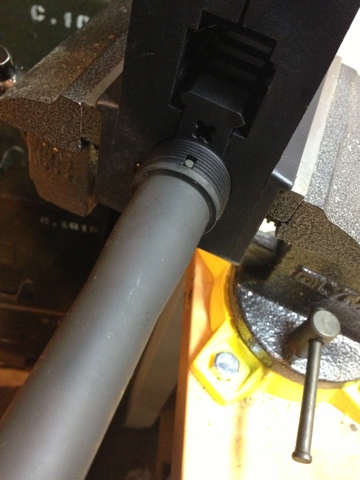
Tighten down the barrel nut making sure to line the hole in the receiver for the gas tube up with the hole or valley in the barrel nut that you are using.


Check to make sure that the gas tube fits through and lines up properly.

Attach the gas tube to the gas block with the roll pin (or set screw if thats what the gas block uses).


Install the gas block and if you have a free float hand guard thread the hand guard on per manufacturers instructions.


When installing your muzzle device make sure to follow the directions included with it, for compensators you want to make sure that it is "clocked" correctly.


No comments:
Post a Comment